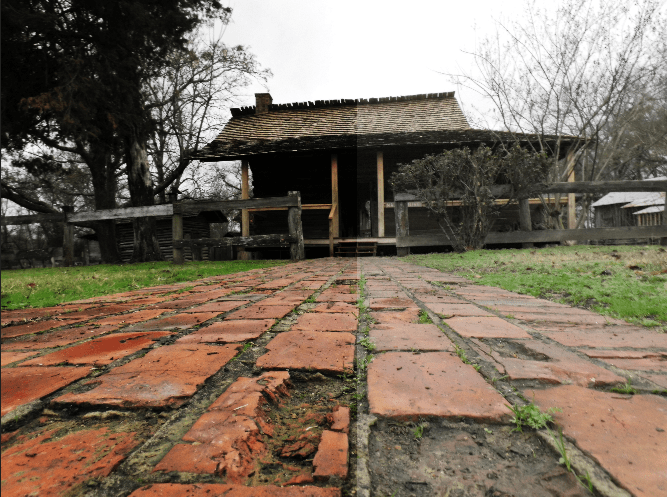
For this tutorial, I will be using the image shown below to help you create your own ND filter effect.
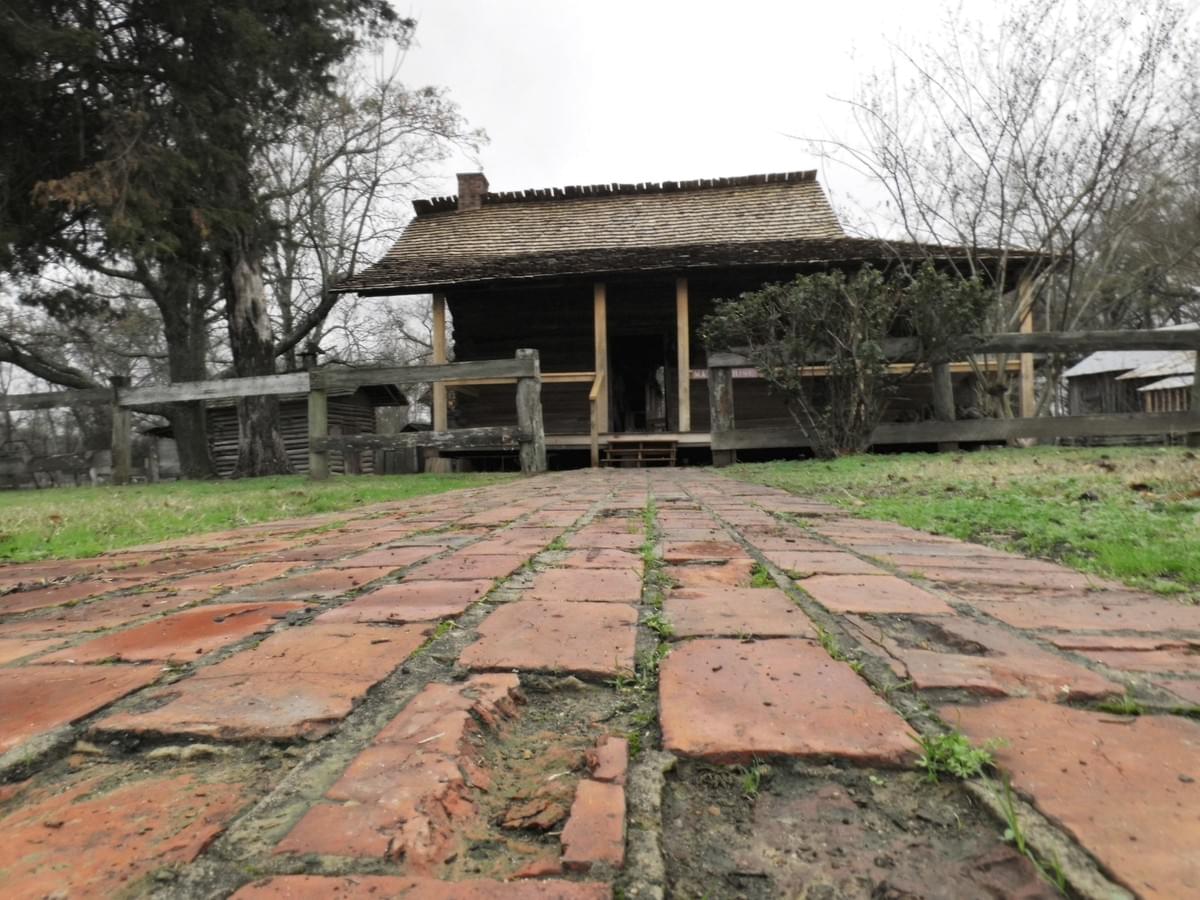
1. Adjusting Highlights
First, open your image in photoshop (or whatever software you use, I'm using Photopea: https://www.photopea.com/
Change the name of the layer from Background to Highlights.
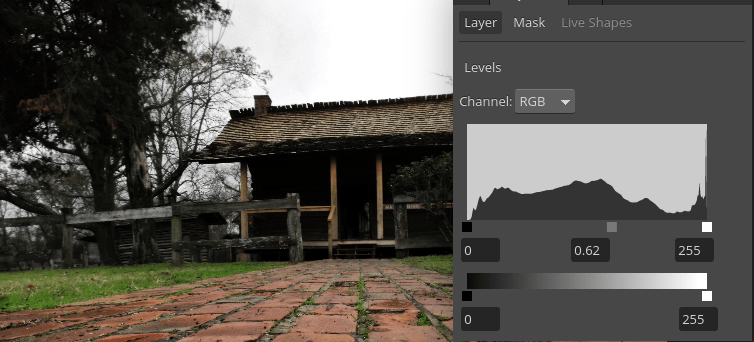
Go to Layer > New Adjustment Layer > Levels and name it Highlight Levels. Drag the center slider until the sky looks sufficiently exposed. I changed mine to .69. This is for the sky.
2. Adjusting Shadows
Right click (Alt+Click) on the original layer, Highlights, and select Duplicate Layer. Rename this layer Shadows and move it to the top of the layer list.
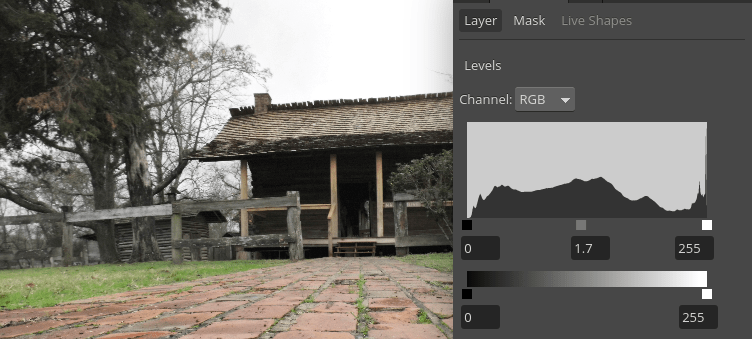
Just like the step before, create a Levels Adjustment Layer and rename it Shadow Levels. I changed mine to 1.7. This is particularly for the cabin, path, and trees.
3. Locking Adjustment Layers
This is probably the hardest part to understand. The purpose of this step is to link or clip each layer so that it will only affect the outcome of its respective layer. If you are using Photopea, hold Ctrl while clicking on the Highlights and Highlight Levels layers. This will lock them together. Repeat the process with the Shadows and Shadow Levels.
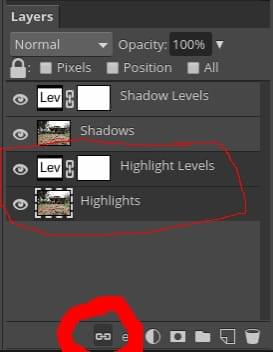
4. Blending the Layers Together
We are now going to add a layer mask ( Layer > Vector Mask > Add [Show All] ) to the Shadows layer. Then select the Gradient Tool in the left side panel, make sure it is set to Black, White (the third one across in the first horizontal row).
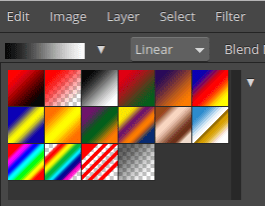
Hold Shift and drag from near the top of the image to the low area. This creates the effect. Though you might not notice a difference. Comparing it to the original image will definitely expose differences.
5. Adjust the Contrast
To make the image less boring, select the top layer in the layers palette and click Layer > New Adjustment Layer > Curves. Apply an S-shaped curve to it as shown below:
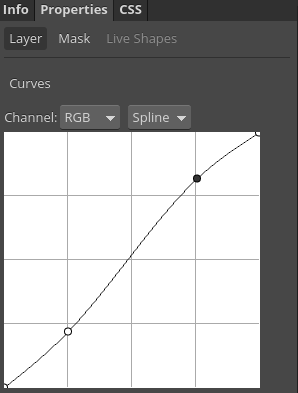
This gives more overall impact to the image.
Final Result
The left side is with the ND Filter effect and the right side is the original.
